
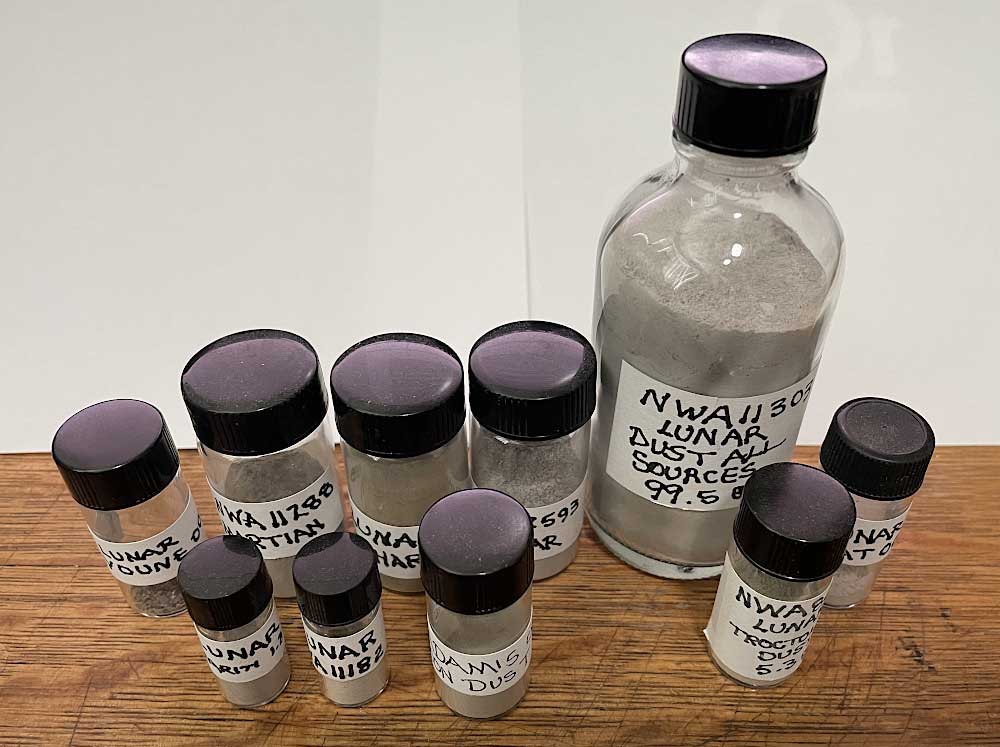
Paul Harris and I have been in business for a long time. Almost thirty years selling meteorites worldwide. I have cut roughly 40,000 slices of space rock during that time. I have lapped and polished windows into thousands of additional meteorites and fragments of meteorites. From nearly the first day that we started, when I build my first saw it seemed a shame to just throw away the mud that accumulated in the coolant recirculation tank. I had made the saw with drain screens in the bottom of the base plate so that the fine cutting powder would go through to the coolant tank, but any chips or chunks would not. The pumps have lasted amazingly well because of this feature and collecting the cutting dust was easy also. Initially I was not sure that I would ever do anything with the meteorite dust. Over the years I did find a few uses for it. Mostly as a colorant or pigment in various types of art mediums. I put it in glazes, paints, and clays but I was not using even a single percent of what I was creating on the saw. The time came later when lunar and Martian meteorites appeared, and I was cutting them. Today twenty odd years later I have bottles of dust from many lunar meteorites in my collection. I was careful to clean the saw before working on each Martian and lunar so that I could be sure that it was totally pure dust.
For the last few years we have been selling the dust from the cutting I did for the business. Not just the lunar and Martian meteorite dust but also the mixed chondrite dust. I added eucrites and howardites to the list of meteorites that I would wash up the saw for. About a year ago we were approached by an individual to sell him all the ordinary chondrite dust we had. I had only used maybe 200 grams myself over the years, mostly as an additive to white clay to make it terracotta color when fired. I had about 30 pounds of chondrite dust to sell to this man. With all the proper warnings about it being toxic and unsafe to use in food items or cosmetics we sold it without knowing his final use. I was overjoyed that my idea of saving the saw mud had proved to be so rewarding. We sold some large batches of the Martian and lunar dust too over the years, mostly to other artists from around the world. We designed attractive displays of the Martian and lunar dust, and they have sold well for many years. As I look on the internet now there are pendants and displays of lunar dust everywhere. The idea of keeping and selling meteorite dust has really caught on.
I have had to repair and upgrade that first saw over the years. I rebuilt the carriage that moves the meteorite, or rock passed the blade twice as the bearings and shafts wore. I am using super hard stainless steel shafts now. They do not wear or corrode, but the homemade bearings have worn out again. The carriage pinches as it moves forward. I need to work on the saw badly and make some design changes.
I am at a break in cutting right now and it is good time to rebuild the saw. I am a bit excited this time since I have more experience and a much increased set of tools to use in this rebuild.
I don’t think that I will have to cast any metal parts but if I do, I have revived my sand casting stuff after several decades. When I was a professional jeweler, I often cast with vacuum casting equipment. I also had in my youth a centrifugal casting machine and some iron molds for sand casting. But somehow in one of my moves the sand itself was lost and I just never bought anymore. I was making other kinds of jewelry by then and was no longer casting simple ring blanks in sand. Recently, I did buy some sand so that I could demonstrate sand casting at the gem and mineral society workshop where I volunteer. I help club members who are learning to make gemstones and silver jewelry. It is a really fun group of friends, and they are doing some beautiful work. But I can use the sand casting stuff to cast some machine parts if I need to. I don’t want to rebuild this saw again in my lifetime, so I am going to repair everything that I have let go in the previous repairs. And try to make my saw stronger.
When I first made the saw, I used drill holes in aluminum plate and angle stock as bearings of sort. Over the years of use the holes have become elongated and the mechanisms wobble in the holes. I will fix all of that and do it different this time.

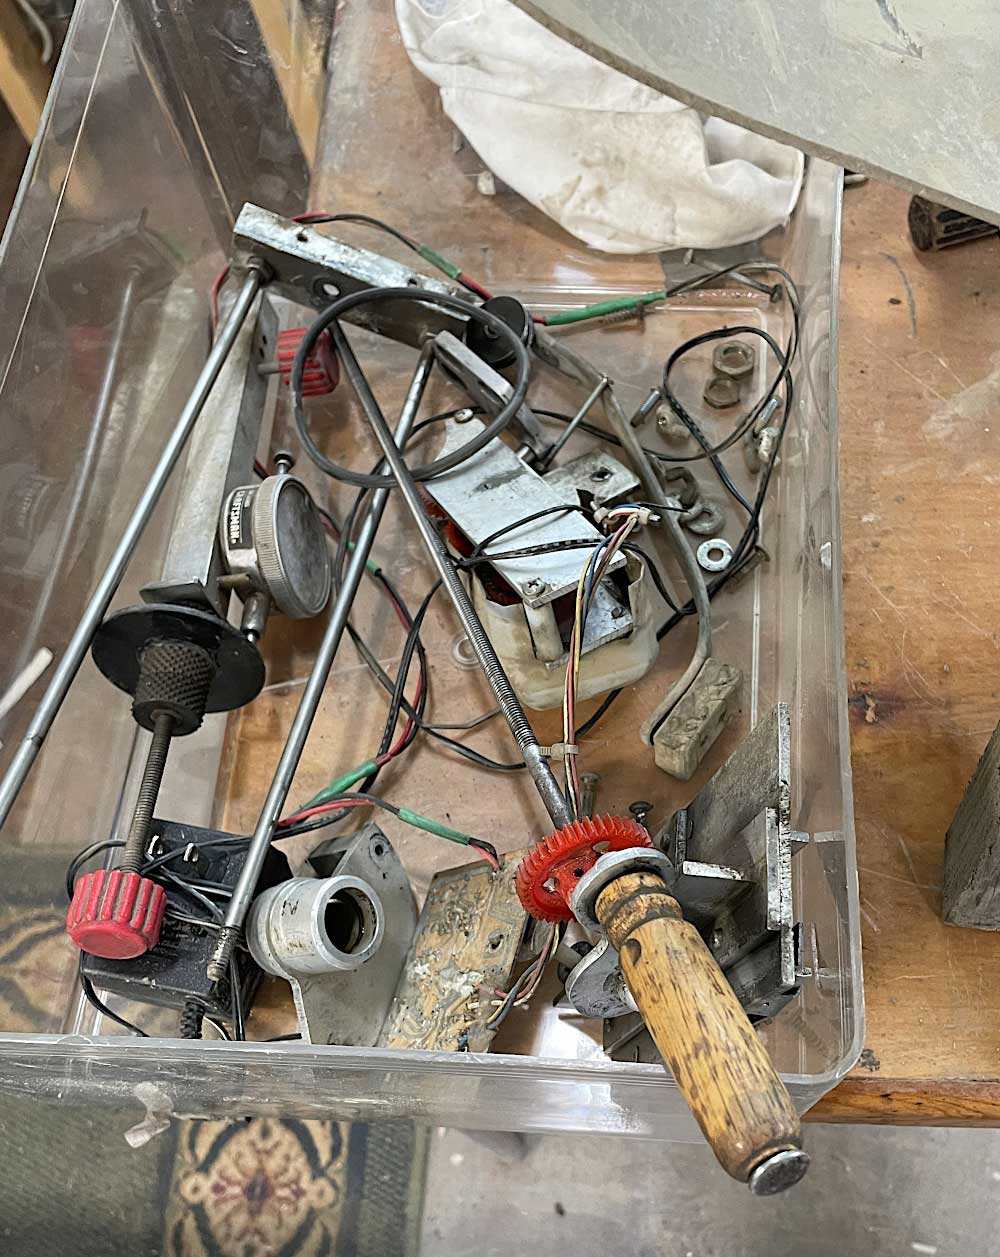
I made the digital motor control thirty years ago out of spare electronic components and a schematic. It still works fine for driving the 12-volt stepper motor and controlling the speed. Its slowest running speed, however, is still too fast a feed for some rocks. I made the drive so that I could do individual steps by pushing a button but that is not practical. I automated the saw so I could go and do something else. Not stand there and push it step by step. I needed to slow the feed down more. So I bought some nylon gears that meshed but were greatly different in size. I welded these up in pairs with my 3D pen and filament. I centered them as I welded them using the diameter shaft, they were made for and created a speed reduction gear train. That got me a final speed to my driving worm shaft that works for all the rocks of any size or hardness. A potentiometer varies the speed from slow to fast, but it is now slow enough for some situations.
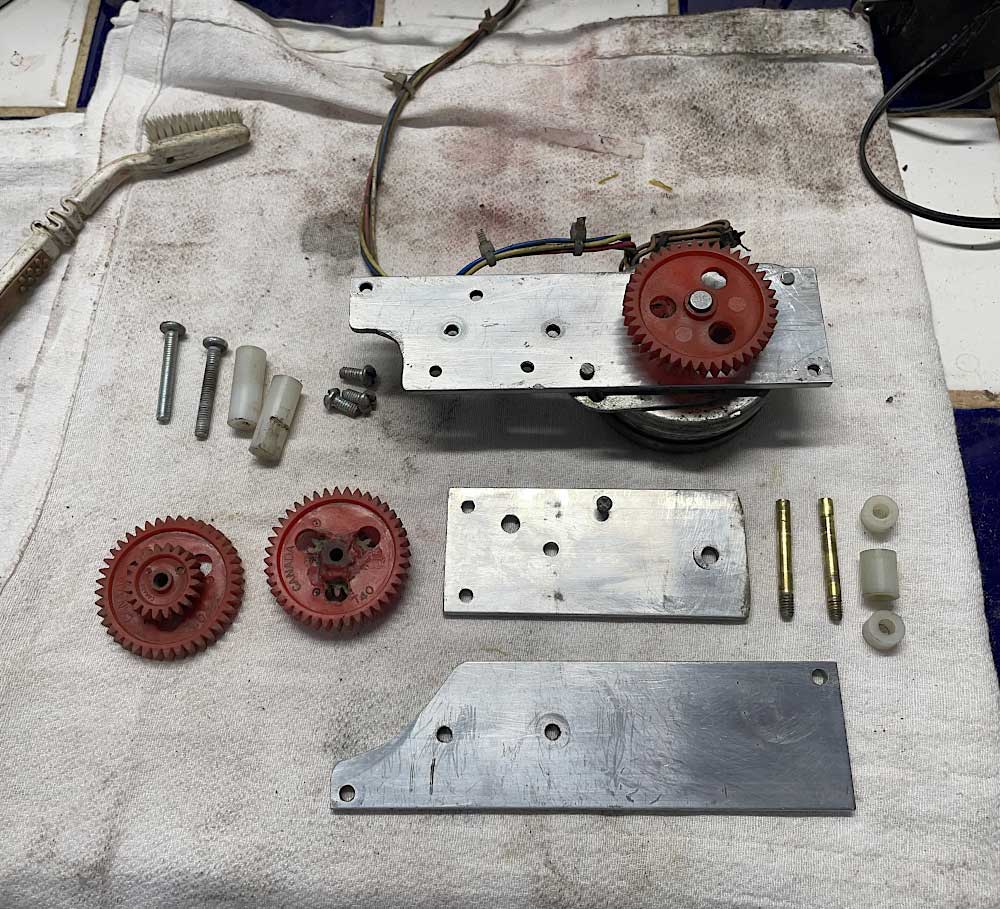
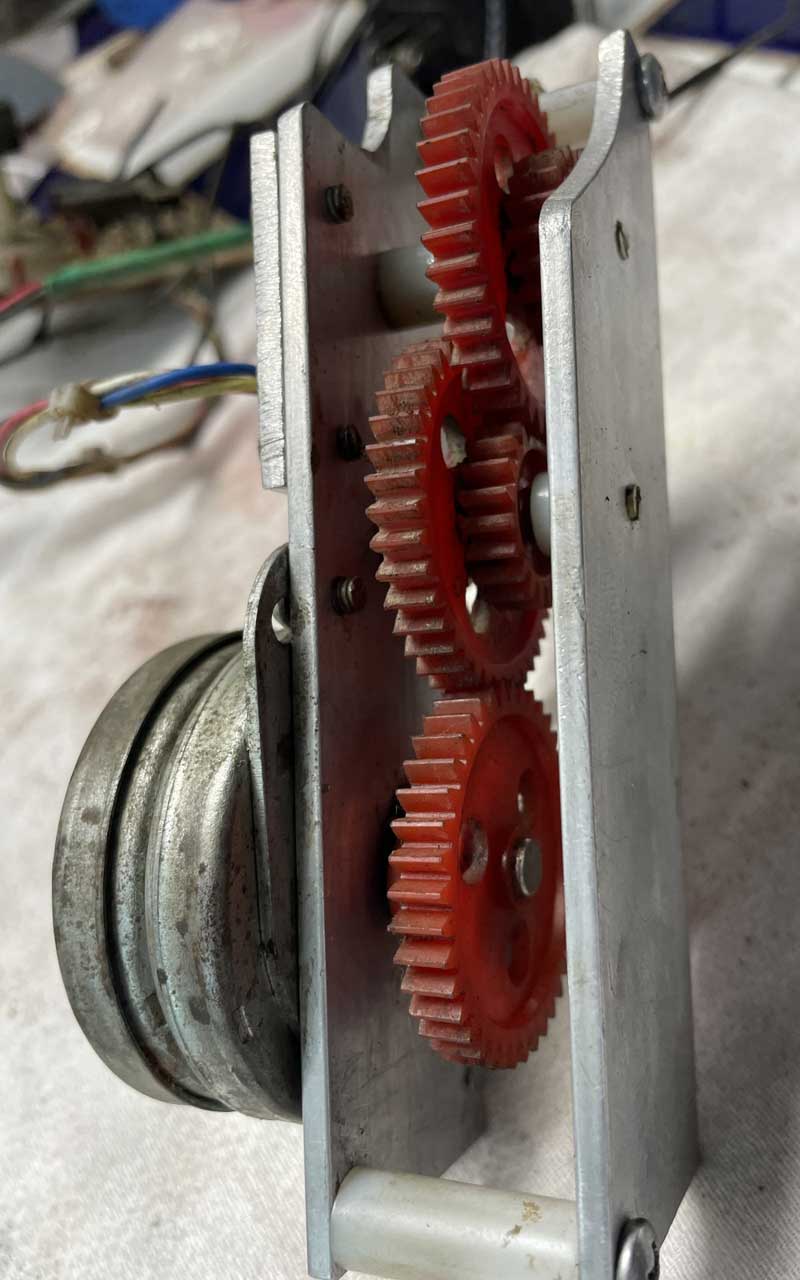
I have been using a kind of clutch deal where I can push down the gear train and disengage the gears from my worm gear shaft that feeds the rock forward. This has been my method to stop the feed and start the feed and release the worm shaft so I can use the hand crank. I will be modifying that a little bit by machining a pair of new cams with different shapes.
Since I could not weld or solder aluminum thirty years ago, I used some pieces of cherry wood for the legs of the saw to raise it up high enough to place a plastic tub and a pump under the saw. Later I found that the distilled water coolant was splashing around enough that it was making a huge mess even with the acrylic shields I had made. I needed to place everything in a bigger tub so the water could be captured. That kept my work bench dry and clean. My cherry wood legs were never the best idea but served well enough. After thirty years of sitting in runoff water they are looking pretty old. I will be making some aluminum legs now since I can weld aluminum.
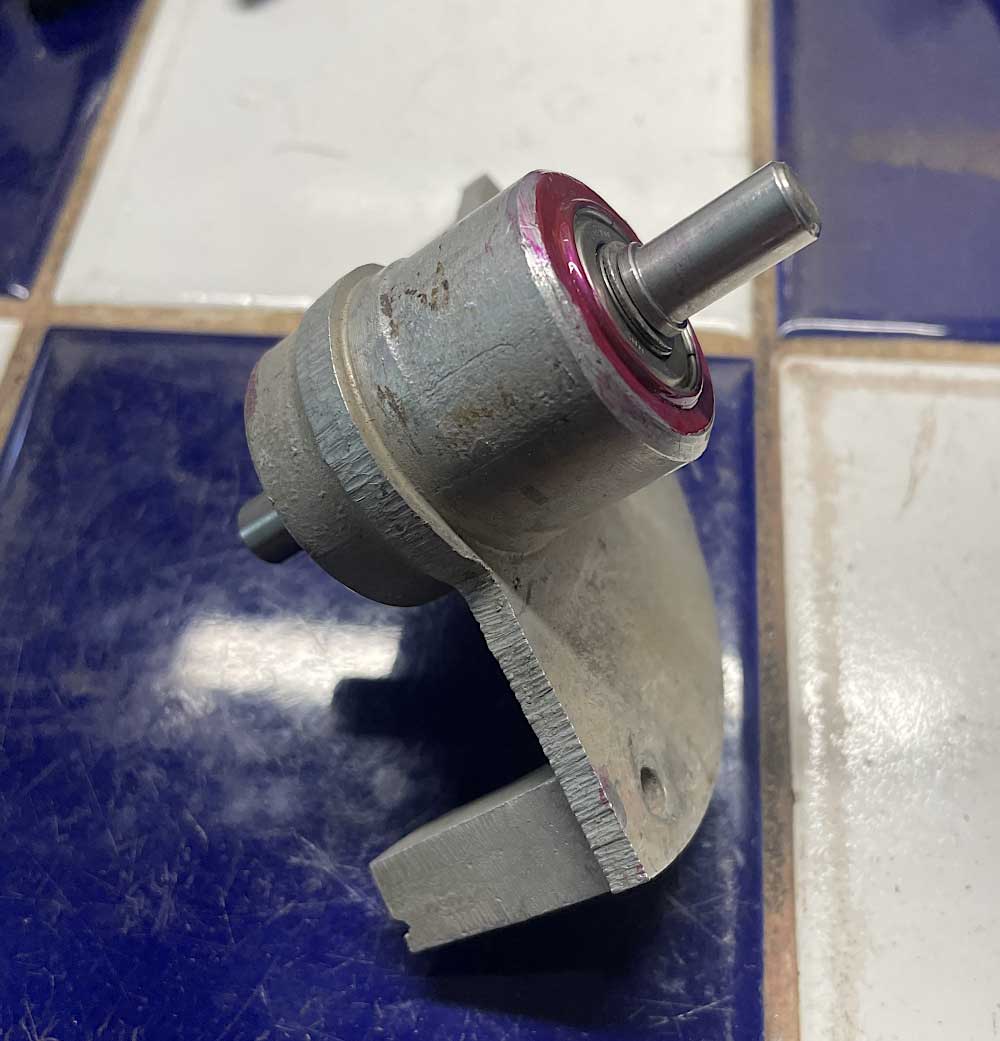
The saw is horribly loud because the ball bearings of the blade arbor mechanism are old and worn. I lubricated and cleaned the pitted ball bearings but never changed them. I will go on a quest to find replacements now. I can hopefully reduce the noise to just the sound of the cutting and not the howling and growling of the ball bearings. I have had to wear gun muffs for ear protection for twenty years. Now I use automatic noise canceling headphones and listen to music while the saw runs but that does not help my nearest neighbor if the lab/studio door is open.
It is going to be a major overhaul of the saw. I have created many features in my saw that I could never buy in a commercial saw. It is worth repairing it. One of the features that has survived very well is my lateral movement device. I mount the stone on a mandrel and then can move it using a dial micrometer to get every slice as thin as I want and all slices in a batch identical. I never have to actually change anything with the mounting of the stone after the initial setup. That has been very nice. Some stones produced dozens of slices all perfectly flat and the same thickness with two end cuts whatever thickness I wanted them to be.
Most rock saws have some kind of terrible vise that often does not hold the rock very well. That is especially true for roundish rocks as meteorites often are. Additionally, you tighten down these vises very hard to keep the rock from shifting in any direction and that is not good for meteorites that may break under that kind of pressure. You also have to loosen and reposition the rock after just a few slices. This greatly increases the chance of getting a wedged slice each time you reposition. The vises are almost useless on small rocks, and you are forced to hold the rock by hand. This works fine for a single cut in half but not at all for slicing.
I can leave any uncut portion of a rock attached to the mandrel and come back months or years later and continue cutting without worrying about getting any wedged slices. The ½ inch aluminum tube I use as a dope stick is cheap and the dope wax is cheap so setting a few of them aside mounted to meteorites has worked wonderfully when we did not want to cut up all of a stone at one time. There have been many occasions when we later were able to sell the large uncut portion itself.
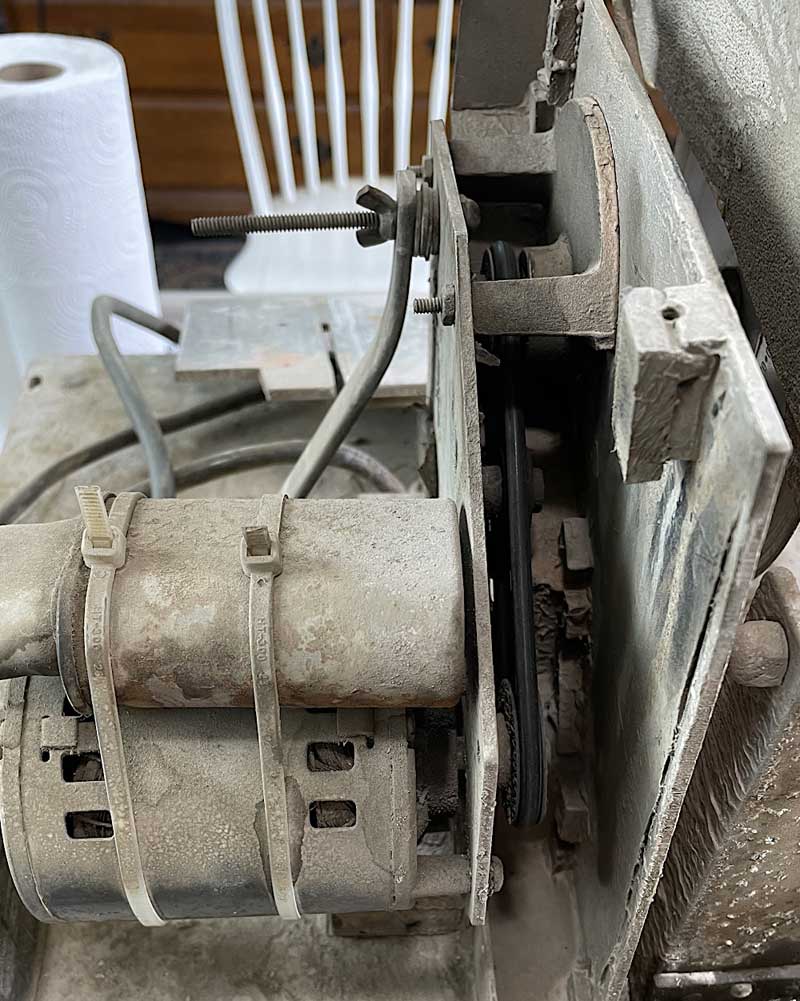
All of the previous part of the article was written before starting to tear the machine down. I got a lot of the machine apart without difficulty. There are a couple of screws that I will have to cut off. Their holes I will have to drill out, and retap. They were too corroded to unscrew. I will likely use stainless steel screws throughout the rebuild. I will use some kind of anti seize compound on the threads this time around. The thick aluminum plate that the saw is built up from is easily incrusted with gunk and crystals of sediment so the prep of the threads will make taking it apart again a lot easier if I ever have to.
The bearings tapped out of the arbor casting much easier than I thought they would. I have measured the bearings and now just have to find replacements. I don’t think that will be much of a problem as they are very standard dimensions. In fact as I continue writing this after a break, I have ordered three for $4.85 each. In a few days I will have the motor unit rebuilt and maybe it will be a lot quieter.
I will take pictures as this process continues and insert them up into what I have already written. This article is a work in progress. It may stimulate some other lapidarist or meteorite enthusiast that has some machinist skills to create their own saw. My blades are very thin, so my waste has always been low. I can use both 6 and 8 inch blades on the saw. Since blade is suspended up in the air, I am not limited to just the amount sticking up above the saw top as in a commercial saw. This has allowed me to cut significantly bigger meteorites with a six inch blade than one might think. The same goes for the eight inch blades. When I have to cut a really large meteorite, I have other equipment to make a first size reduction cut. Then those pieces can go on this much more precise saw,
I have to disconnect the electrical connection from the saw so I can take the saw outside and hose it off and scrub it. I really don’t want to drench the electric motor. One of my shields has been broken on an edge for twenty years and I will replace it. The others will clean up nice, I think. Rock cutting is a dirty nasty activity. I use water as a coolant. It is even dirtier using oil as we do on most of the saws at the gem society workshop. It is not good to use coolant oil with meteorites because it is hard to get the oil back out. But some type of coolant if necessary or blade life with be very short and you will have dangerous dry dust flying everywhere that you don’t want to breathe.
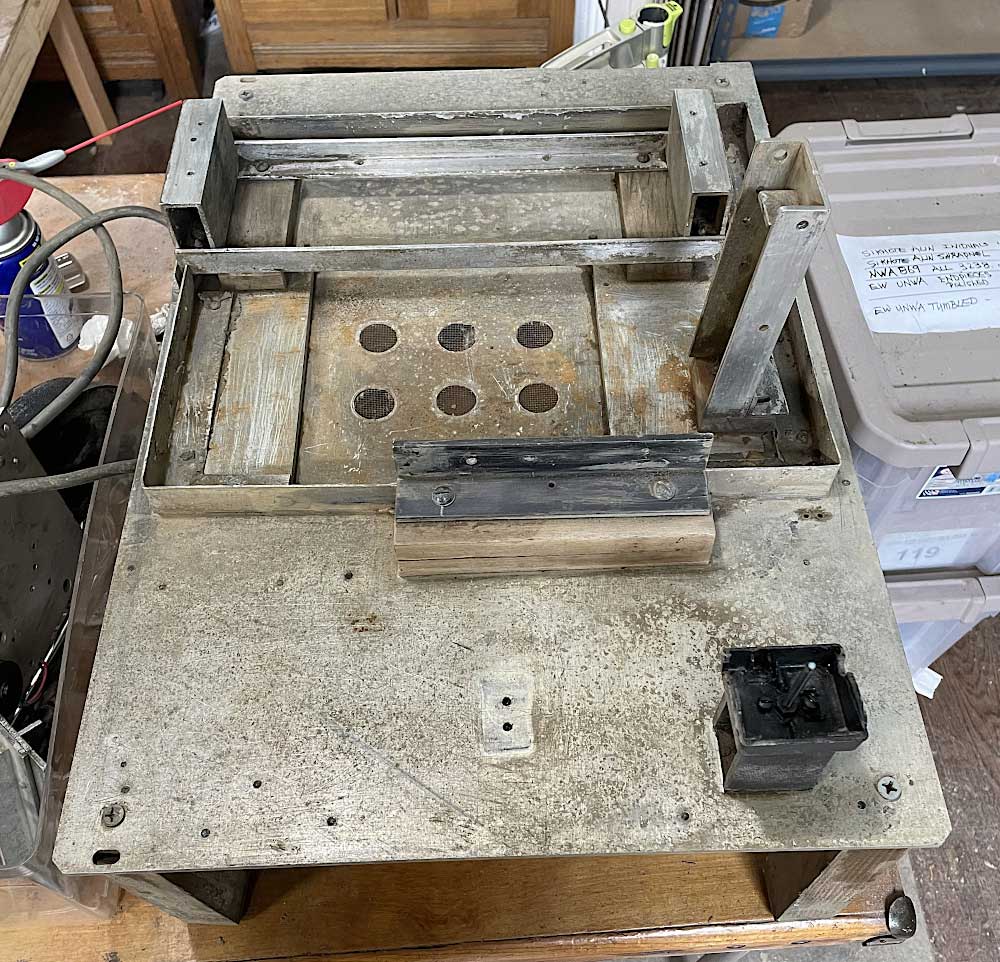
As careful as I was when I laid all this out and designed the saw it was a little off in the vertical with the blade. I will fix that in this rebuild. It never matters the cuts are all parallel if the rock is not rotated in the holder. However, there have been times that I wanted to spin stones so that I could cut into their exterior all the way around to protect them from breakage of the fusion crust at the end of the cut. That was not very easy to do with this misalignment. The front to back of the carriage and the blade were near perfect and parallel. I am going to shim and adjust the third axis until it is correct too.
The bearing mechanism of the carriage has been a continuing issue with staying tight enough that the carriage would not bind and pinch as it moved forward and back. I think I have solved that with the four new bronze bearings. I hope they will keep things in line and running smoothly.
I did not really know in the beginning how tight I could make my machining and still have it be easy to maintain. I was too tight with my tolerances years ago and the muck and gunk of the rock cutting made things get jammed so that the carriage would get stuck at some point during a cut. These bronze bushing are a very close fits to the stainless steel rails. I may have that problem again. But this time I have a much more substantial support for the bushings. They are mounted on a 1/4 inch thick brass plate 2 inches by four inches that I have machined, drilled, and tapped into. It does not flex at all. Unlike the thin aluminum angle material that I used originally which could bend when it got clogged causing it to pinch up. The new design moves smoothly and easily right now without the drive running and the dog engaged. I am hoping it will be no problem for the stepper motor to move the carriage. The reduction gear train does increase the available torque, but it is still pretty easy to stall the motor.
I had some issues over the years with how to engage the carriage to my feeder worm screw. I have machined a part for this that I have confidence will move the carriage, stay engaged and have no play forward and backward. No backlash because of a tiny brass cam which I can adjust that rests against the end of my threaded dog. It is allowed to move slightly in other directions to keep from binding but those will not affect a cut or show in the rock.
The lateral motion mechanism has worked flawlessly and received only a good cleaning and lubrication and was attached to the brass plate of the new carriage with some stout screws at tapped locations. Again nothing wiggles at all. My original carriage design was so apt to flex under the weight of meteorites that I had to make a crutch-like post with a polished end that would hold one side of the carriage up level and prevent sagging. I have no worries with this carriage sagging.
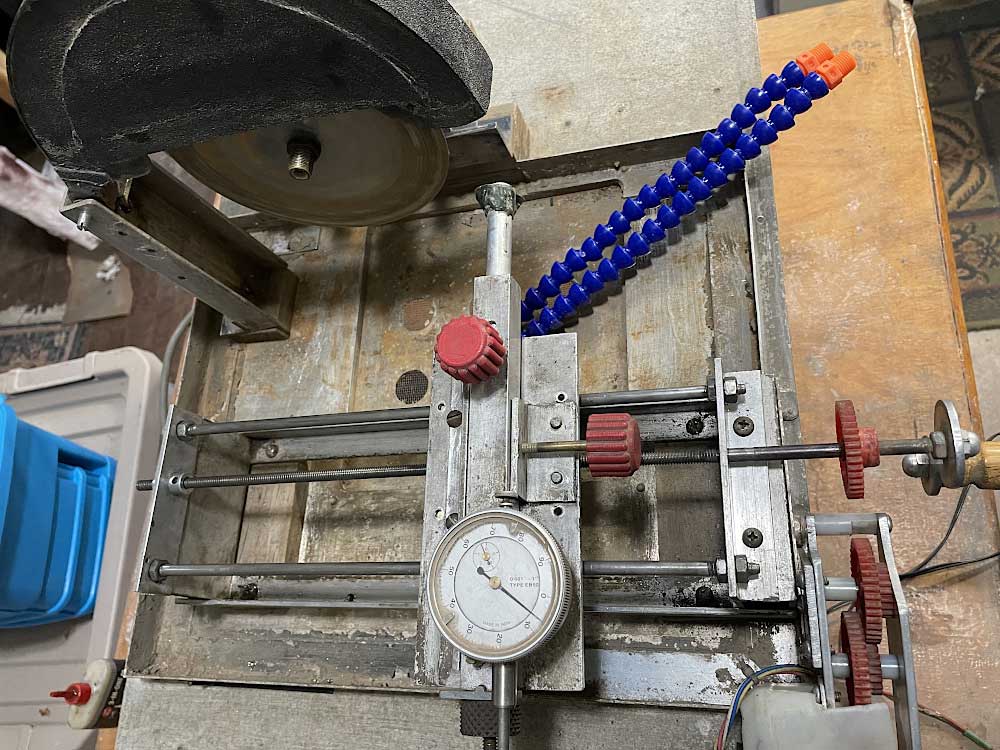
Once it was all assembled, I did have to hone out the bronze bushings a little. The stepper motor did not produce enough power. I had to loosen up the bearings one or two thousandth each and that was all it took to get the carriage to slide and not stall the motor. I am happy it is so solid compared to the old design. It was a good design but never lasted but a few years at a time.
I needed to make a better spray system for the water coolant. It was a pretty bad system before. I used some copper tubing from an old refrigerator and drilled some small holes in it to squirt water. I am going to use a pair of the adjustable hoses that I have left over from making the 14 inch lapping machine. I just need a brass plumbing “T” connector with ¼ FIP threads and a sturdy mounting to the saw. It needs to not move at all at the connector end so when I adjust the open end to squirt at the edge of the blade the hoses will stay on target with coolant. One more trip to the hardware store should be the last trip and I can wrap this up.
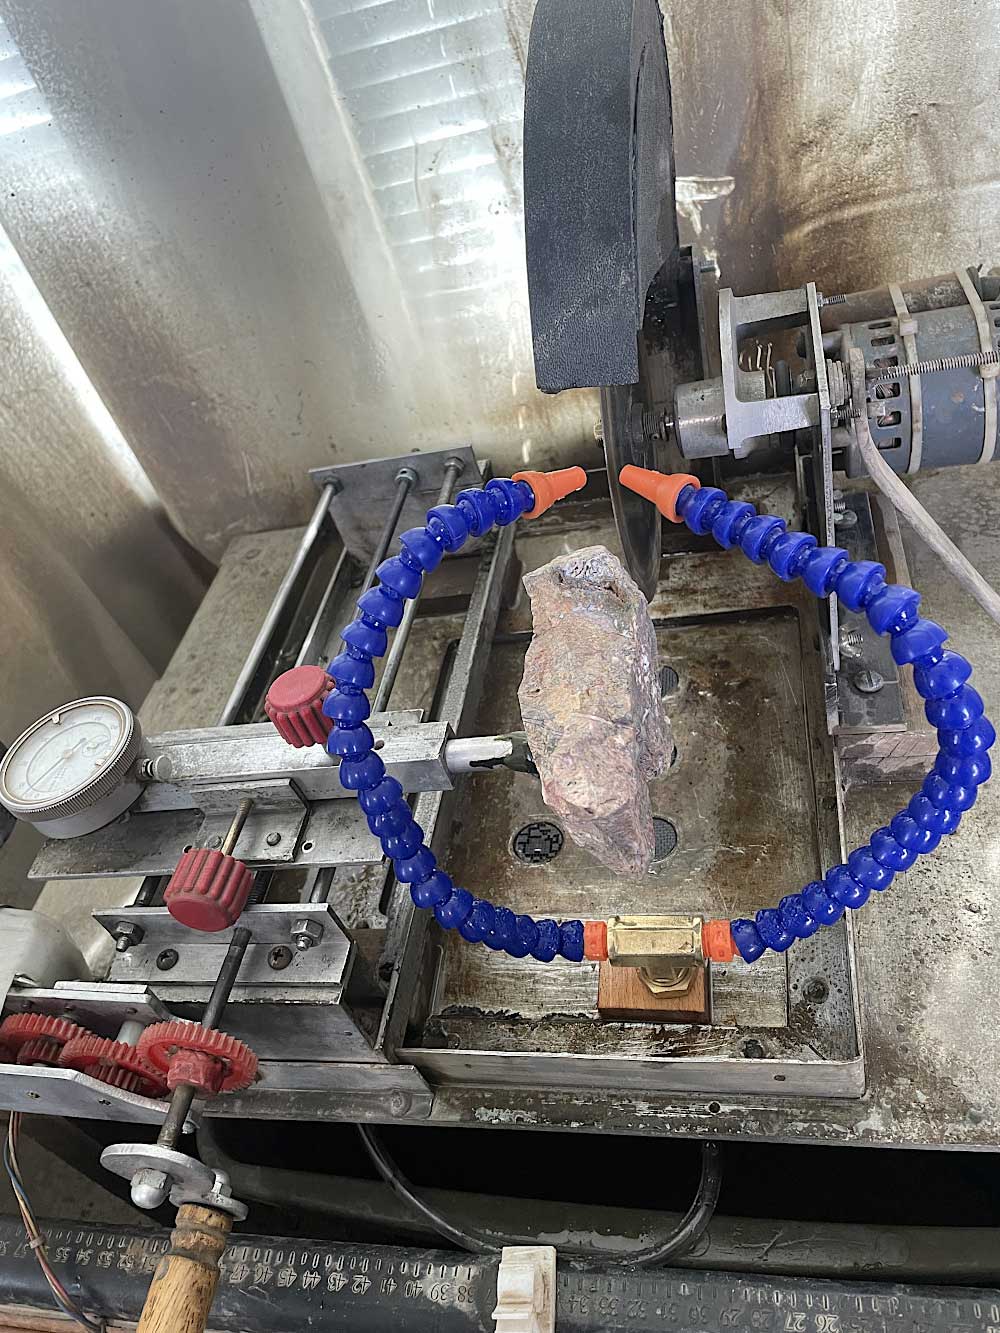
We have had several days of constant hard rain, and this rebuild has been a good rainy day project. I will attach the shields and wash up the plastic tubs and the backsplash curtain. Its needs to stop raining though so I can do the washing up outside with the water hose. I already love how much quieter it is. I am looking forward to having it working again as it did twenty-five years ago and hopefully even better.
